
Confessions of a Freezer Squirrel: Getting Food Scrappy
Welcome to the final installment of the Freezer Squirrel Summer Series! 🐿️❄️
We have plumbed the icy depths of bulk shopping in The Costco Breakdown and mastered time-saving batch prep in Cooking Math. Today we’re closing out the series with my absolute favorite kitchen tactic: getting scrappy.
While it isn't strictly zero-waste cooking, it shares the same core philosophy. Think of your freezer as a pause button. Food in the freezer is like mosquitoes trapped in amber—we are preserving something today so we can extract it in the future to build an island of extinct dinosaurs.
Wait. No. That’s Jurassic Park.
We are preserving food that would otherwise go to waste so we can add instant flavor, delight, and whimsy to future meals! Here is how to embrace your scrappy side and turn kitchen leftovers into flavor gold.
Rescuing Castaways and “Little Bits”
Have you ever made a recipe that only called for a tablespoon or two from a package? What usually happens to the rest?
If you’re like 97% of people (a figure not grounded in scientific research, just pure gut feeling), you stick it in the fridge. There, it gets pushed further and further into the dark back corner until one day you uncover a mystery container, furry with mold and impossible to identify.
This happens constantly with flavor-dense ingredients like tomato paste, chipotles in adobo, and anchovies. You needed two chipotle peppers, but the can came with ten. You wouldn’t throw the rest directly into the garbage, so you put them in the fridge—where the refrigerator does little more than extend the time between opening the package and
My strategy? Send them straight to the freezer instead.
Flavor Concentrates: Freeze small portions of tomato paste, harissa, or anchovies in small jars, small bags, or silicon ice cube trays so you can pop out a single portion later.
The Chipotle Hack: Puree the entire can of chipotles in adobo before freezing it into ice cube trays. Since most recipes call for chopped or blended chipotles anyway, you’re saving future-you a step while portioning them out!
Half-Used Jars: Buying in bulk at Costco means I often have massive jars of marinated artichoke hearts, roasted red peppers, sun-dried tomatoes in oil, or specialty sauces. Instead of letting them grow gray mold islands in the fridge, I drain them and transfer smaller portions into mini mason jars, or wrap them tightly in plastic wrap inside a freezer bag.
🏆 The Payoff: Months from now, when you want to toss a handful of sun-dried tomatoes into a pasta dish or throw a few roasted red peppers on a Friday night pizza, you don't have to buy a new jar. It feels like winning the Flavor Olympics.
Aromatics On-Demand
You know how people say you either live in an "ingredient house" or a "snack house"? I like to think we live in a balanced middle ground, but if I’m being honest, we are an ingredient house first and foremost. I love having foundational ingredients on hand so I can cook delicious meals without making three separate trips to the grocery store every week.
Historically, my biggest sticking point was aromatics. Onions and garlic have a long shelf life, but I was constantly pulling ginger root out of the crisper drawer that had shriveled into something resembling a backyard twig, or hot peppers (like jalapeños and serranos) that had developed soft, moldy spots.
Inspired by those frozen blister packs of minced garlic and ginger at the supermarket (which are amazing, but whose price tags hurt my thrifty worldview), I started buying these ingredients in bulk and processing them myself:
Minced Ginger: I trim the dry ends off fresh ginger root, give it a good scrub, and chuck the whole thing (skin and all) into my mini food processor. Buzz, buzz: minced ginger unlocked.
Spicy Peppers: Remove the stems, slice around the seeds, and throw the jalapeños or serranos straight into the mini processor.
🧊 How to Freeze Aromatics: Spread the minced ginger or peppers flat in a small freezer bag so you can easily snap off a chunk when cooking, or freeze them in ice cube trays before transferring the cubes to a bag. They are ready and waiting whether you make stir-fries weekly or go a month between curries!
Project Produce Rescue
In my Meal Planning Collective, I talk a lot about the "Crisper Drawer Graveyard." We have all been there. I don't know a single person who hasn't pulled a slimy, sad bag of forgotten spinach out of their fridge at some point in their lives.
Before your produce reaches the point of no return, hit the freezer pause button!
Leafy Greens (Spinach, Arugula, Kale): Blanch them by plunging them into boiling water for 60 seconds, transfer them to an ice bath, squeeze out the excess moisture, wrap tightly in plastic wrap, and freeze.
Mushrooms: Never freeze raw mushrooms (they turn spongy!). Always sauté them in a little butter or oil first before freezing.
Bell Peppers: Chop and freeze raw for future stir-fries, or roast them first for maximum flavor.
Hard Veggies (Green Beans, Broccoli, Cauliflower, Brussels Sprouts): Blanch in boiling water for 1–2 minutes, shock in ice water, and freeze in a single layer on a parchment lined baking sheet before transferring to a freezer bag for longer storage.
These rescued veggies are perfect for tossing into soups, scrambled eggs, pasta bakes, dips, and casseroles later in the month.
Flavor Gold from Kitchen Scraps
This is the kind of zero-waste cooking I can truly get behind: turning literal kitchen trash into high-end culinary ingredients.
The Ultimate Stock Bag
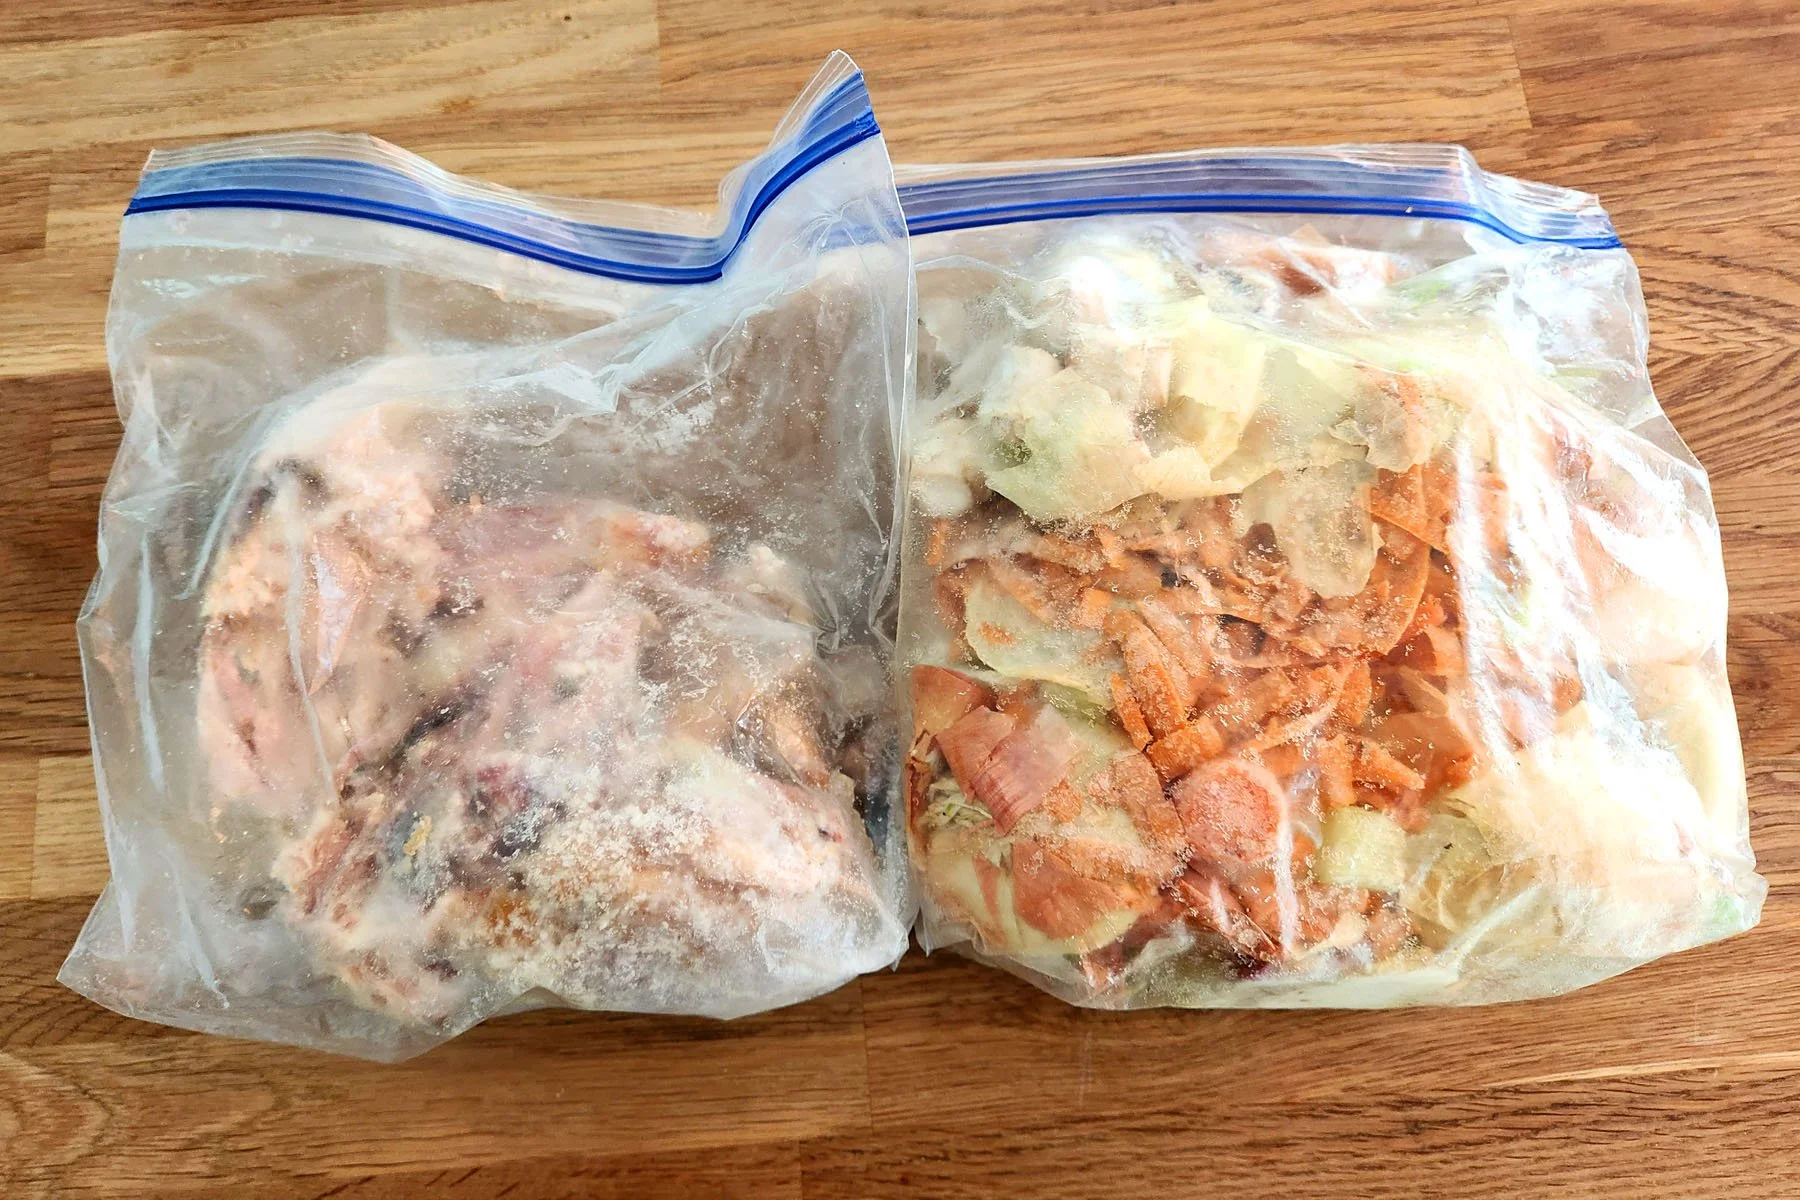
In Part 1, I mentioned saving rotisserie chicken carcasses in the freezer. To complete the zero-waste circle, I also keep a large freezer bag dedicated to vegetable scraps: onion skins and ends, carrot peels, celery bottoms, mushroom stems, and parsley or thyme stems.
Once my scrap bags are full, I dump everything into a big pot with water and simmer it into rich, flavorful chicken stock. I ladle the finished stock into quart mason jars and freeze them. One quart jar equals one store-bought carton of broth, made for essentially zero added dollars!
Parmesan Rinds
When I grate hard Italian cheeses for the freezer (as shared in Part 1), I never throw away the tough outer rinds. Instead, they all go into a dedicated freezer bag.
Toss a frozen parmesan rind directly into a simmering pot of white beans, minestrone, or pasta sauce. As it simmers, it releases an incredible, savory umami flavor bomb into the broth.
Freezer Squirrel Signing-Off!
That is an official wrap on our Freezer Squirrel Summer Series!
Over the past few months, we’ve covered how to buy in bulk without waste, how to use "cooking math" to reduce cooking time, and how to turn leftover scraps into pure flavor. I hope you’ve gained a whole new appreciation for your freezer and picked up a few actionable tricks to make your weeknight meals more affordable, varied, and fun.
Ready to Take the Stress Out of Dinner?
Utilizing your freezer is a game-changer, but the very first step to easier, more satisfying meals is having a flexible, realistic plan for the week ahead.
If you want continued support and inspiration to make the most out of your kitchen, come check out the Meal Planning Collective! Let's make mealtime easier together.
-
Blanching is a quick two-step process where you briefly cook vegetables in boiling water and then immediately plunge them into ice water to stop the cooking process.
Skipping this step before freezing raw vegetables can lead to dull colors, unpleasant mushy textures, and off-flavors because natural enzymes continue to break the vegetables down even while frozen. Blanching neutralizes those enzymes, preserving the vibrant color, crisp-tender texture, and nutrients of your produce.
How to Blanch Vegetables for the Freezer:
Boil: Bring a large pot of water to a rolling boil. Drop in your prepped, chopped vegetables (like green beans, broccoli, kale, or spinach) and boil for 1 to 3 minutes, depending on the toughness of the veggie.
Shock: Quickly scoop the veggies out with a slotted spoon and plunge them directly into a bowl filled with ice water to stop the cooking.
Dry & Freeze: Drain thoroughly, pat the veggies dry with a clean kitchen towel (removing moisture prevents ice crystals!). Leafy greens can be squeezed dry and wrapped for freezing. For veggies like green beans or broccoli florets, spread them flat on a baking sheet to freeze before transferring them to a freezer bag.
-
While onions, carrots, celery, and mushrooms make incredible stock, you should avoid cruciferous vegetables like broccoli, cauliflower, Brussels sprouts, cabbage, and kale. Bitter greens and brassicas can turn your homemade stock bitter and sulfurous. Stick to aromatics and root veggie scraps like carrots.
-
Nope! The skin on fresh ginger root is thin and completely edible, especially once finely minced in a food processor or blended into a dish. Just wash off any dirt, trim away any dry ends, cut it into small chunks, and finely chop before freezing.
The information provided is for educational and informational purposes only. It is not intended to be medical advice or to diagnosis, treat, cure or prevent any disease. This information does not replace a one-on-one relationship with a physician or healthcare professional. Dietary changes and/or the taking of nutritional supplements may have differing effects on individuals.
To learn more about how working with a nutritionist could help you, schedule a free 15-minute call.